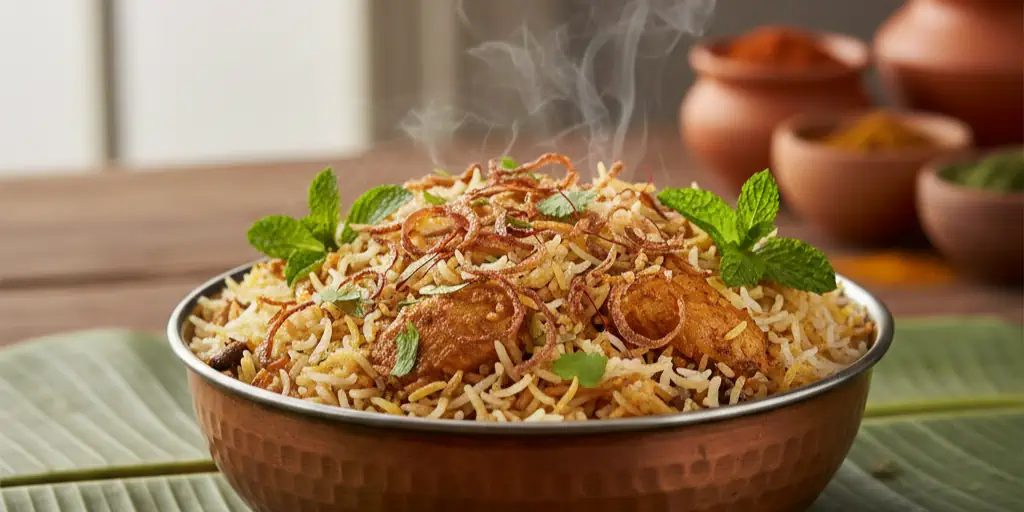
The Art of Hyderabadi Biryani: A Complete Guide
1. History and Cultural Significance
2. Detailed Ingredient List with Alternatives
Authenticity comes from the right ingredients. Here’s the list for a traditional goat or lamb biryani that serves 6-8 people.

3. Step-by-Step Marination Process of Hyderabadi biryani recipe
Marination is the heart of the biryani—it changes the meat completely.
First, clean and prep: Pat the meat dry very well. This helps the marinade stick better.
Next, prepare fried onions (birista): Thinly slice 4-5 large onions. Then fry them in oil over medium-low heat until they turn deep golden brown and crispy. Drain on paper towels. After that, reserve half for layering and grind the other half into a coarse paste.
Then, make the marinade: In a large bowl, whisk hung curd until smooth. Add ginger-garlic paste, turmeric, red chilli powder, coriander powder, garam masala, and salt. Mix everything well.
Now, combine: Add the meat to the marinade. Also add the fried onion paste, half of the chopped mint and coriander leaves, slit green chillies, lemon juice, and 1/4 cup ghee or oil. Mix thoroughly with your hands, massaging the marinade into each piece. The fat is important because it carries the flavours deeply.
Finally, let it rest: Cover the bowl and refrigerate for at least 6-8 hours—overnight is best. As a result, the acids and enzymes soften the meat while the spices soak in fully.
4. Rice Preparation Techniques
The rice needs to be par-cooked just right—grains should feel firm inside but soft outside.
First, wash and soak: Rinse basmati rice 3-4 times until the water is clear. Then soak it in cold water for 30 minutes. This step stops the grains from breaking later.
Next, boil the water: In a large, heavy pot, bring 4-5 litres of water to a full boil. Add all the whole spices, lemon juice, and 2 tbsp salt (the water should taste as salty as seawater).
After that, par-boil: Drain the soaked rice and add it to the boiling water. Cook on high heat.
Test for doneness: After 5-7 minutes, take out one grain. It should break easily with slight pressure but still have a hard, chalky centre. In other words, the rice should be about 70% cooked.
Finally, drain right away: Pour everything into a large colander. Let the rice drain fully and air-dry a bit. You can discard the whole spices or leave a few for looks.
5. Layering Secrets for Perfect Dum Biryani
Layering is like building the structure of the biryani—each part adds to the flavour and texture.
First, choose the vessel: Use a heavy-bottomed, wide pot (such as a handi or Dutch oven) for even heating.
Then, start the first layer: Spread the marinated meat (with all its juices) evenly at the bottom. This creates the base flavour.
Next, add rice: Gently spoon half the par-cooked rice over the meat in a loose, even layer. Avoid pressing it down.
After that, add aroma: Sprinkle half the remaining fried onions, mint, coriander leaves, and drizzle half the saffron milk and ghee.
Repeat the process: Add the rest of the rice, followed by the remaining herbs, fried onions, saffron milk, and ghee.
Pro tip: For an extra burst of flavour, sprinkle a little kewra water or rose water along with the saffron milk.
6. Dum Cooking Method Explained
Dum is a gentle steam-cooking process that brings everything together.
First, seal the pot: Put on a tight lid. For the real deal, make a simple dough from wheat flour and water to seal the edges. This traps all the steam and aroma. Alternatively, use a heavy lid or double aluminium foil under the lid.
Then, cook on low heat: Place the sealed pot on the lowest flame. For extra safety, put a tawa (griddle) underneath to spread the heat and avoid burning.
The wait: Cook on dum for 35-45 minutes. Meanwhile, the magic happens—the meat tenderizes in its juices, which rise to flavour the rice, while aromatic steam from above drips back down.
Finally, rest: Turn off the heat and leave it sealed for another 15-20 minutes. This resting time lets the flavours settle perfectly.
7. Common Mistakes to Avoid
- Overcooking the rice → Mushy rice ruins it. Always stop at 70% during par-boiling.
- Not enough salt → Biryani tastes flat. Season the marinade and rice water generously.
- Skipping the rest → Opening too soon lets steam escape. Be patient.
- Dry marinade → It should be wet and plentiful. Yogurt and ghee/oil keep the meat juicy.
- Packing layers too tight → Keep them loose so steam can move freely.
- High heat on dum → This burns the bottom. Low flame is a must.
8. Serving Suggestions with Accompaniments
Serve it gently: Scoop from the side with a flat spoon to get all layers on the plate. Don’t mix the whole pot first.
Must-have sides:
- Mirchi ka Salan: A spicy peanut gravy with green chillies—the perfect match.
- Dahi Chutney (Raita): Yogurt mixed with chopped onions, cucumber, mint, and roasted cumin.
- Simple salad: Onion rings and lemon wedges to balance the richness.
Drink pairing: Try sherbet (sandalwood or passion fruit) or salted lassi.
9. Storage and Reheating Tips
Storage: Let it cool fully, then store in an airtight container in the fridge for 2-3 days.
Reheating (important): Skip the microwave—it dries out the rice. Instead, use dum again:
- Move the biryani to a heavy pot.
- Sprinkle 2-3 tbsp water or milk on top to add moisture.
- Cover tightly and warm on the lowest heat for 10-15 minutes.
Or steam it in a covered container set over simmering water.
Traditional vs. Modern Methods Comparison:
| Aspect | Traditional Method | Modern Adaptation |
|---|---|---|
| Heat Source | Wood/charcoal fire, with live embers placed on lid | Gas/electric stove, oven (at 160°C/325°F for dum) |
| Sealing | Wheat flour dough (atta) | Aluminium foil + tight lid |
| Pot | Copper or brass handi | Heavy-bottomed Dutch oven, non-stick pot |
| Tenderizer | Raw papaya paste | Commercial meat tenderizers (less preferred) |
| Saffron | Hand-pounded in a stone mortar | Pre-ground threads (loses potency) |
While quick modern versions exist, sticking to traditional steps—like slow dum, long marination, and careful layering—gives you a biryani full of Hyderabad’s true flavour and spirit. It takes time and care, but every part—from frying the onions to opening the pot—is worth it for an amazing result.
Tips for Perfecting Your Hyderabadi Biryani Recipe
-
Start with the Right Rice: For an authentic Hyderabadi biryani, use aged, long-grain basmati rice. Soak it for at least 30 minutes before par-boiling—this ensures each grain stays long and separate, not mushy.
-
Master the Dum (Slow Steam): The soul of this dish is the dum. Seal your pot tightly with dough or a heavy lid to trap the steam. Cook on the lowest possible heat, and if possible, place a tava (griddle) underneath to distribute heat evenly and prevent burning.
-
Don’t Rush the Marination: Whether you’re making a Kacchi or Pakki Hyderabadi biryani recipe, marinate the meat (preferably goat or chicken) for a minimum of 2 hours, or ideally overnight. Yogurt, fried onions, ginger-garlic paste, and whole spices should coat every piece for maximum flavor.
-
The Layering is Key: Layer thoughtfully. Start with meat at the bottom, add a rice layer, then sprinkle fried onions, mint, cilantro, saffron milk, and ghee. Repeat. This builds the complex aroma that defines a great Hyderabadi biryani.
-
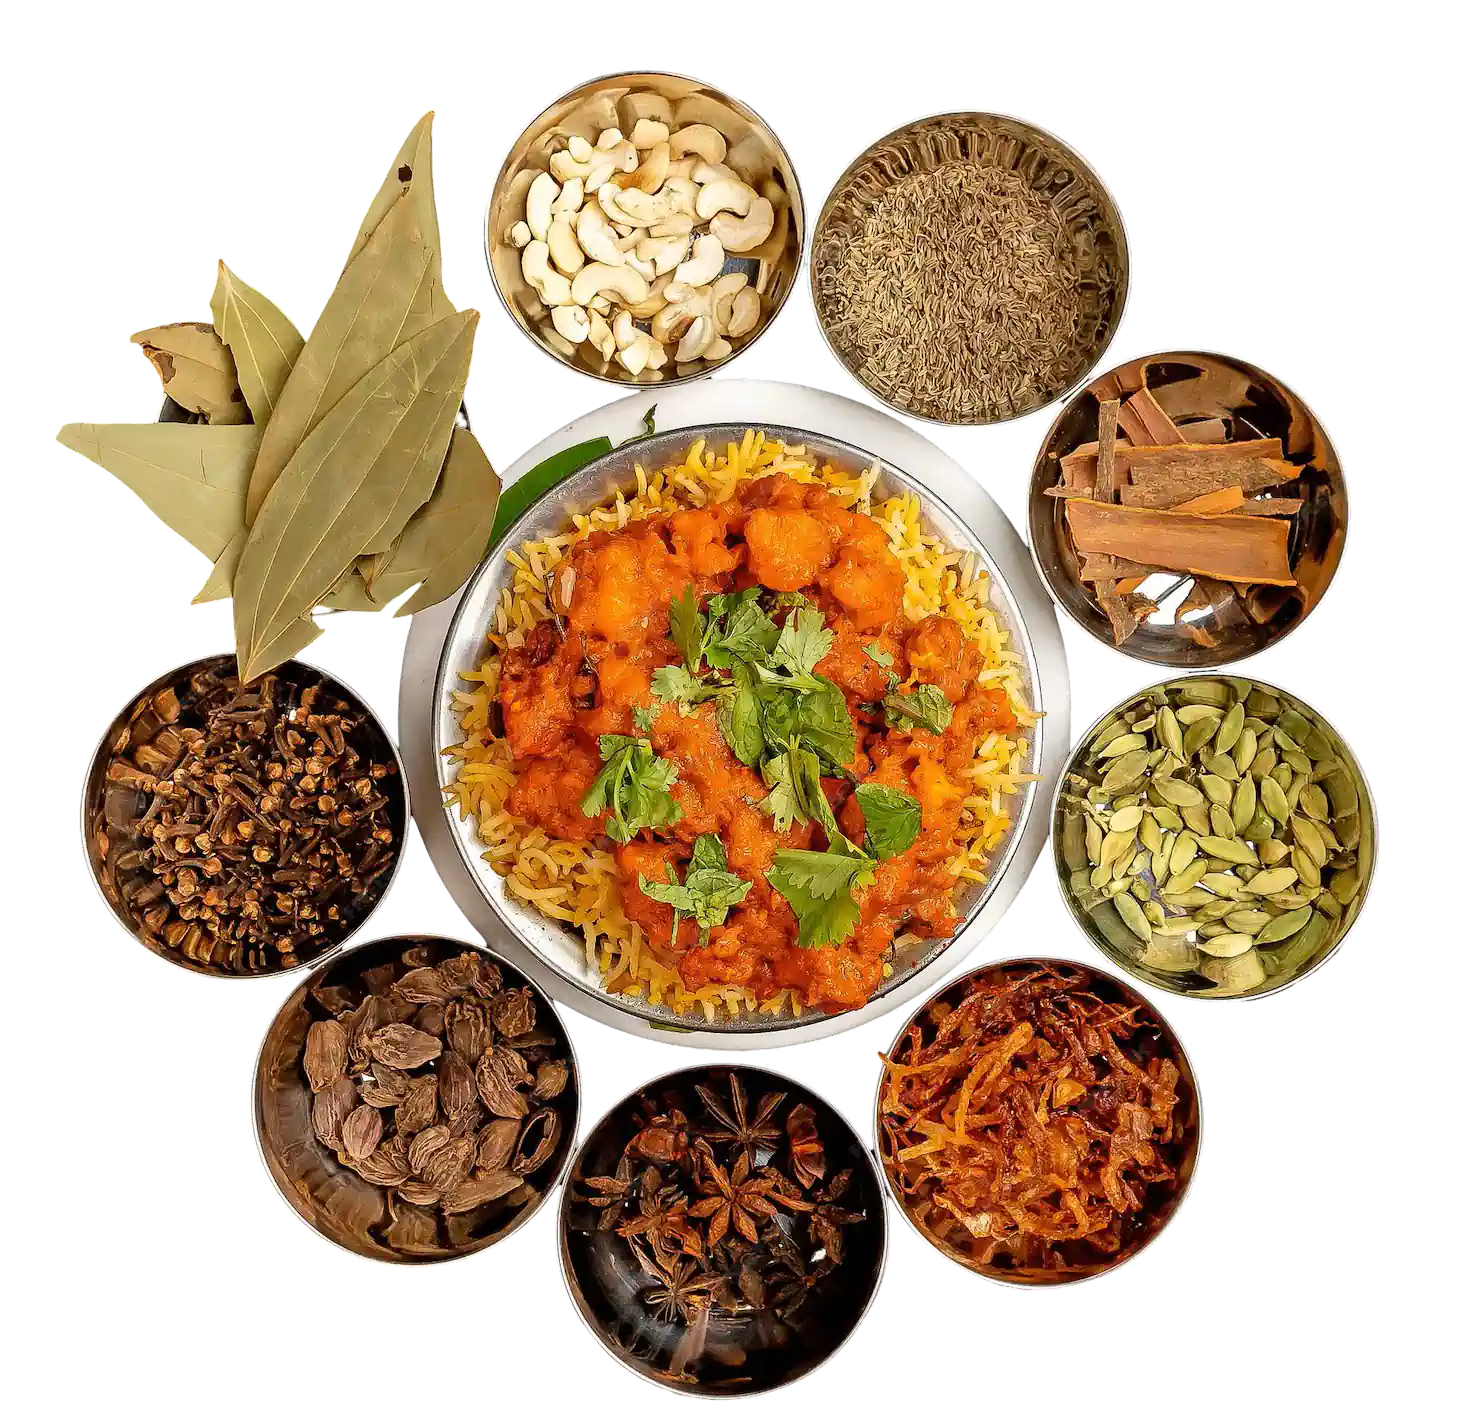
Balance Your Spices: Authentic flavor comes from whole spices—green cardamom, cloves, cinnamon, bay leaf, and star anise. Be generous but not overwhelming; you want warmth and fragrance, not heat. A pinch of kewra (screwpine) water at the end elevates the aroma magically.