How to make a homemade cake
Hello, baking buddies! Is there anything more special than the smell of a cake baking in your own kitchen? That sweet, buttery, vanilla-scented warmth that fills the entire house – it’s pure happiness. For so many of us, the idea of making a cake at home feels difficult. We think we need a fancy oven, expensive tools, and chef-level skills. But I’m here to tell you a secret: the most joyful, satisfying cakes are often the simplest ones made right in your home kitchen.
Think about it: a child’s birthday, a small anniversary surprise, or just a rainy Sunday when you crave something sweet. Buying a cake is easy, but baking one? That’s an act of love. This post is your friendly guide to breaking that fear. We’re starting with the absolute classic – a soft, pillowy Eggless Vanilla Sponge Cake. It’s the foundation for all your baking dreams. Whether you have an oven, a pressure cooker, or a kadhai, I’ll show you how this basic homemade cake recipe works perfectly. So, tie your apron, and let’s create some magic together!
Ingredients for Your Simple Homemade Cake
Gather these simple, everyday ingredients. This is for a basic 6-inch round cake.
Dry Ingredients:
- 1.5 cups (180g) Maida (All-Purpose Flour)
- 1 cup (200g) Powdered Sugar (Chini ka Powder) – Using fine sugar helps it mix completely.
- 1 tsp Baking Soda
- 1.5 tsp Baking Powder
- A pinch of Salt
Wet Ingredients:
- 1 cup (240ml) Curd (Dahi) – Use fresh, slightly sour curd for good results.
- 1/2 cup (120ml) Plain Oil (Sunflower or Rice Bran oil) – Or use melted butter for a better taste.
- 1/2 cup (120ml) Milk (at room temperature)
- 2 tsp Vanilla Flavour
For Greasing the Tin:
A little butter/oil and maida to lightly coat the cake tin.

Step-by-Step Recipe Method
Follow these easy steps slowly and patiently. Baking is a method, but it’s an easy method!
- Strain, Don’t Skip: Take a large mixing bowl. Strain together the maida, baking soda, baking powder, and salt. Straining adds air and prevents lumps, making the cake lighter.
Tip: Always strain your dry ingredients 2–3 times for a very soft sponge. - Mix the Wet Team: In another bowl, take the curd. Mix it smoothly until it’s creamy. Now, add the powdered sugar. Mix fast for 3–4 minutes until the sugar almost melts and the mixture looks shiny.
- Mix Gently: Add the oil and vanilla flavour to the curd-sugar mix. Mix again until everything is well mixed and smooth.
- The Final Batter: Now, add the strained dry ingredients to this wet mixture in 2–3 parts. Gently mix it in using a flat spoon. Do NOT beat or mix fast at this stage.
Tip: Use slow, soft movements to mix the batter. This keeps the air in. - Adjust Thickness: After mixing in all the flour, check the batter. It should be thick but pourable — thick but able to fall slowly from the spoon. If it’s too thick, ad the one tablespoon milk at a time, and mix gently.
- Prep the Tin: Grease your baking tin well with butter/oil. Lightly coat it with a little maida, tapping out the extra. Line the bottom with a cut-out baking paper if you have it.
Bake It!
- In an Oven: Heat before baking your oven at 180°C for 10 minutes. Pour the batter into the tin. Tap it gently on the counter to remove air bubbles. Bake for 35–40 minutes or until a toothpick put inside comes out clean.
- On Stovetop (Pressure Cooker/Kadhai): Heat a thick-bottom kadhai or pressure cooker (remove the whistle/rubber ring) for 10 minutes on slow heat. Place a stand or ring inside. Place the cake tin inside, cover with a closed lid, and bake on low heat for 45–50 minutes.
- Cool Completely: Once baked, let the cake cool in the tin for 15 minutes. Then, run a knife around the edges and gently turn upside down it onto a cooling stand. Let it cool completely before slicing or frosting.
Pro Cooking Tips for a Perfect Cake Every Time
- Room Temperature is Key: Ensure your curd, milk, and oil are all at room temperature. Cold ingredients can make the batter heavy.
- Don’t Open the Door/Oven/Lid: The biggest urge is to peek! But opening the door during the first 25–30 minutes of baking can cause the cake to sink. Be patient.
- The Toothpick Test: This is your best friend. The cake is done when a toothpick inserted in the centre comes out with just a few dry crumbs, not wet batter.
- Measure Correctly: For baking, always use standard cups/spoons or a kitchen scale. Guessing measurements is the most common reason for a failed cake.
- Vinegar/Curd Trick: The sour quality in curd mixes with baking soda, creating bubbles that make the cake rise beautifully. Ensure your baking soda is fresh.
- Biggest Mistake: Over-mixing the batter after adding flour. This makes dough tight, making the cake tough and hard to bite. Fold, don’t beat!
Different Versions & Replacements to Explore
- Chocolate Cake at Home: Replace 3 tablespoons of maida with 3 tablespoons of cocoa powder without sugar. Add 2 tbsp of hot water with the cocoa to mix well.
- Vegan Cake: Replace curd with an equal amount of thick vegan yogurt or 1 cup plant milk mixed with 1 tbsp lemon juice (let it thicken for 5 mins). Use any plant-based milk.
- Orange or Lemon Cake: Replace milk with fresh orange/lemon juice. Add 1 tbsp of outer peel for a very good fresh flavour.
- Healthy Version: You can replace half the maida with whole wheat flour (atta). The texture will be slightly heavier but healthy. Use jaggery powder instead of sugar.
- Butter Cake: Replace the oil with 1/2 cup melted, cooled unsalted butter for a traditional rich flavour.
Serving Suggestions: How to Enjoy Your Creation
Your basic vanilla sponge is a superstar on its own and a base for ideas.
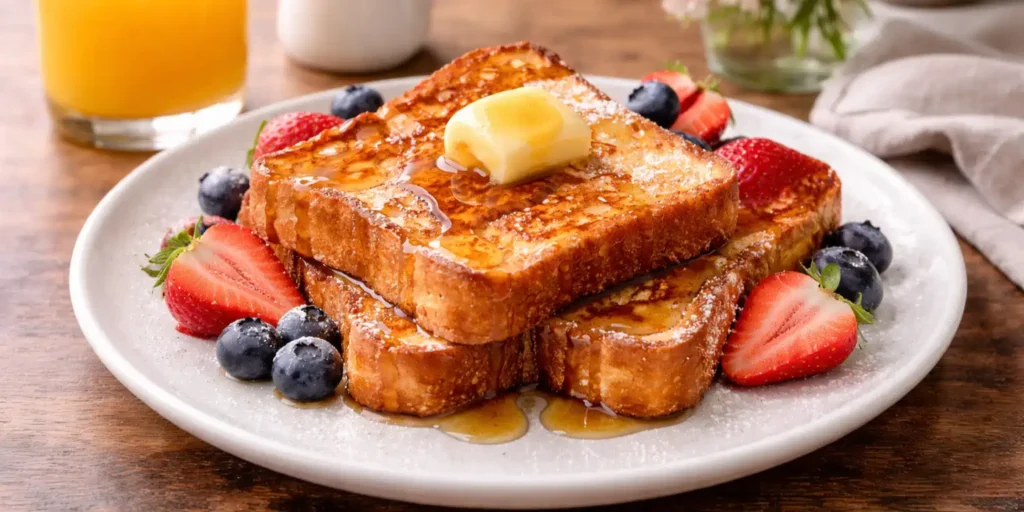
- Plain & Simple: Enjoy a warm slice with a cup of chai or coffee. It’s very tasty!
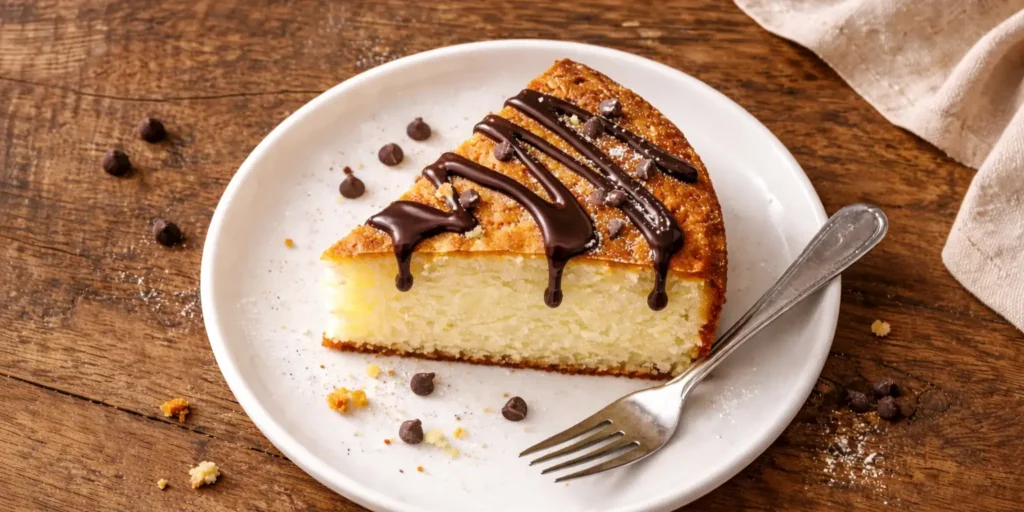
- With Frosting: Once completely cool, frost it with simple chocolate sauce, whipped cream, or a classic buttercream.
- As a Base: Use this cake to make a trifle, cake pops, or a layered party cake with jams and cream.
- Best Time/Occasion: Perfect for birthdays, after-school snacks, group meals, festive treats (like Christmas), or just a weekend baking project with kids.
FAQs: Your Homemade Cake Questions Answered
Q1: Why did my cake not rise and become heavy?
A1: The usual common causes are old baking powder/soda, over-mixing the batter after adding flour, or opening the oven too early. Ensure your rising ingredients are fresh and fold gently.
Q2: Can I make this cake without an oven?
A2: Absolutely! The stovetop method using a heavy-lidded kadhai or pressure cooker works perfectly. Just ensure you cook on a very low flame (slow covered cooking).
Q3: How do I store the homemade cake?
A3: Once cooled, wrap the unfrosted cake tightly in plastic wrap. It stays soft at room temperature for 2 days, in the fridge for a week, or you can freeze it for a month.
Q4: Can I use eggs in this recipe?
A4: Yes, for an egg version, remove the curd and baking soda. Use 2 eggs. Beat the eggs and sugar until light in colour and fluffy, then add oil/butter and vanilla, followed by the dry ingredients.
Q5: My cake is dry. What went wrong?
A5: Over-baking is the most common reason. Oven temperatures vary. Start checking with a toothpick 5 minutes before the suggested time. Also, measuring too much flour (don’t scoop, spoon it into the cup) can make it dry.
Conclusion
See? Making a delicious, fluffy cake at home is not very hard. It’s about understanding a few simple rules and having the courage to try. This vanilla sponge is your simple base — once you master it, you can create a hundred different cakes from this one recipe.
I promise you, the joy of slicing into a cake you baked yourself is very satisfying. So, please try this recipe this weekend. And when you do, come back and tell me all about it in the comments! Did your family love it? What different version did you try? Share your photos and stories.
Happy baking! May your kitchen always be filled with sweet smells.