
Instant poha – the name itself is a lifesaver. You know those mornings when your alarm didn’t go off, or you hit snooze one too many times, and suddenly you have exactly 10 minutes before you need to leave? That is when instant poha comes to the rescue. No soaking for hours. No planning ahead. Just poha, a few spices, some vegetables, and a hot pan. The smell of mustard seeds crackling, curry leaves sizzling, and the nutty aroma of roasted poha – it wakes up not just you, but the entire house.
I discovered this version of poha by accident. I had a bag of poha (flattened rice) in my pantry, but I forgot to soak it the night before. It was 7 AM. The kids were hungry. I was panicking. Then I remembered – my grandmother used to make something called “instant poha” for days when the maid didn’t come. She would simply rinse the poha with hot water and cook it directly. No soaking. No waiting. It was ready in minutes. I tried it. It worked. And it was delicious.
Instant Poha Breakfast Recipe
For Indian homes, poha is a breakfast staple – light, easy to digest, and endlessly customisable. And this instant version means you can have a healthy, satisfying breakfast even on the busiest days. No excuses. No skipping breakfast.
A small tangent: I once tried to make instant poha without rinsing the poha first. It was so dry that my daughter said it tasted like cardboard. So please, rinse it. Even if it is “instant.”
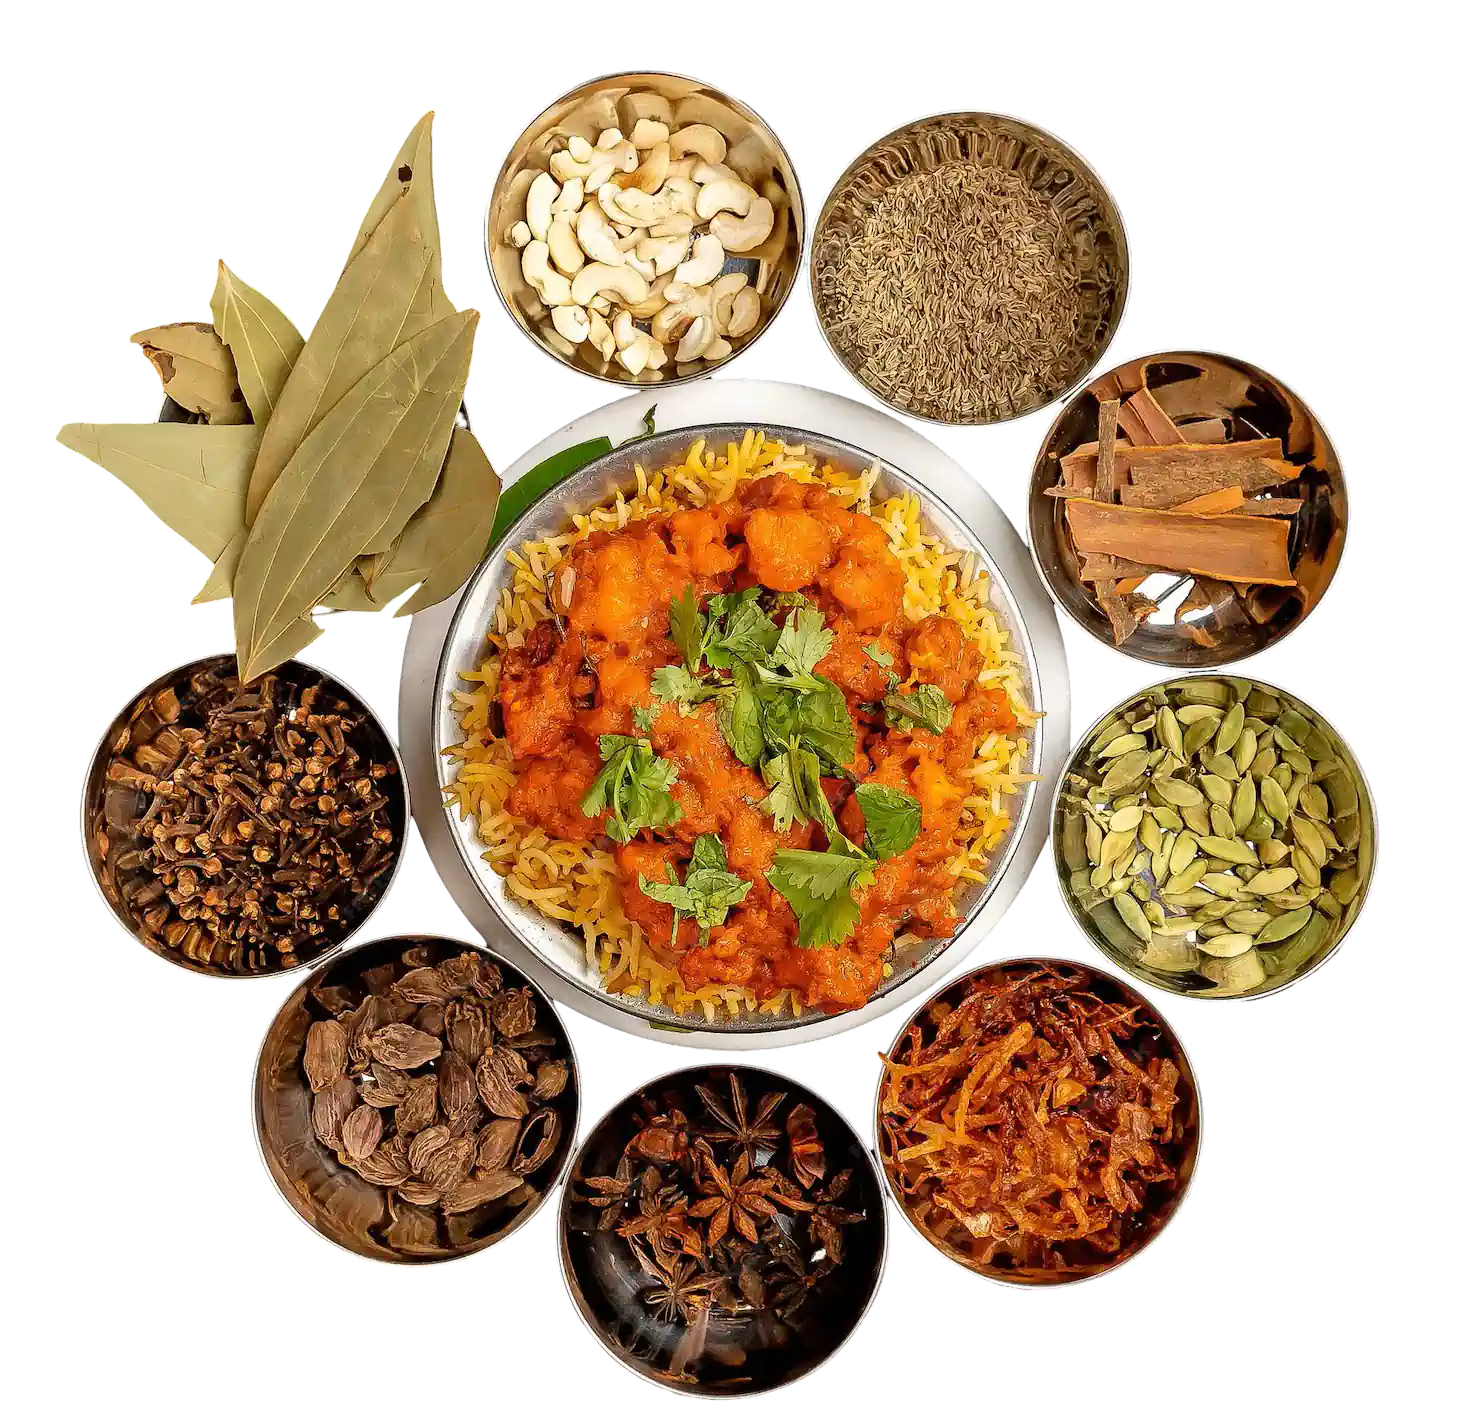

Step-by-Step Recipe Method
1st Step: Rinse the Poha (The Instant Trick)
Place the poha in a colander or a fine-mesh strainer. Pour 1 cup of hot water over it. Toss gently with a spoon or your hands. The poha will soften immediately – within 30 seconds. Do not soak it. Just rinse and drain. Let it sit for 2 minutes. The poha should be soft but still hold its shape. Not mushy. Not dry. If it feels too dry, sprinkle a little more hot water. If it feels too wet, spread it on a plate and let it dry for a minute.
A mistake I made: I poured too much hot water and the poha turned into a paste. Just 1 cup of water for 1 cup of poha is enough.
2nd Step: Heat the Oil and Add Tempering
Place a kadhai or a deep pan on medium flame. Add 2 tablespoons of oil. Let it heat. Add mustard seeds. They will crackle and pop – that is the sound of poha magic. Add cumin seeds. Let them sizzle. Add asafoetida, curry leaves, and green chillies. Sauté for 10 seconds. The smell will be intense and wonderful.
If you are using onion, add it now. Sauté until the onion turns soft and golden – about 2 minutes. Onion adds sweetness and texture, but you can skip it for a quicker version.
3rd Step: Add Turmeric and Peanuts
Add turmeric powder and salt. Stir for 10 seconds. Add the roasted peanuts. Fry for 30 seconds until the peanuts become slightly glossy.
4th Step: Add the Rinsed Poha
Add the rinsed and drained poha to the pan. Reduce the flame to low. Gently mix everything together – using two spoons or a spatula. Be gentle. Poha breaks easily. Fold it rather than stirring aggressively. The poha should absorb the flavours of the tempering.
5th Step: Add Sugar and Lemon
Add sugar and lemon juice. Mix gently. The sugar balances the tanginess of the lemon and the heat from the chillies. If you want a more traditional taste, use jaggery powder instead of sugar.
6th Step: Cook for 2 Minutes
Cover the pan with a lid. Let the poha cook on low flame for 2 minutes. This allows the flavours to meld and the poha to absorb the moisture. Do not overcook – the poha will become sticky. Open the lid. Fluff the poha gently with a fork.
7th Step: Add Coconut and Coriander
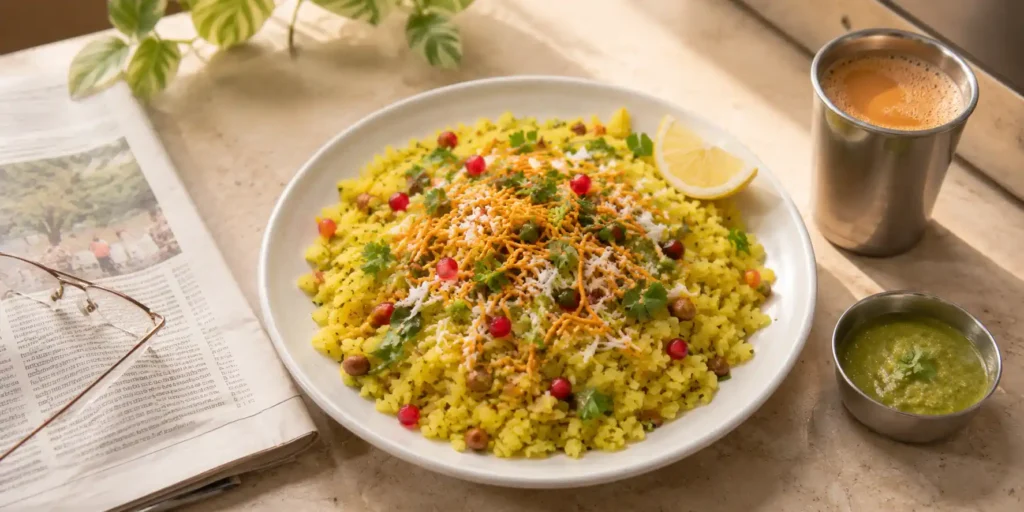
Turn off the flame. Add fresh grated coconut and chopped coriander leaves. Toss gently. The residual heat will warm the coconut without cooking it. The colour will brighten – pale yellow poha with specks of green and white.
8th Step: Garnish and Serve
Transfer the instant poha to a serving bowl or plate. Top with sev for crunch, a few pomegranate seeds for sweetness, and an extra squeeze of lemon. Serve hot with a cup of chai.
Pro Cooking Tips
-
Mistake to avoid: Rinsing poha with cold water. Cold water does not soften poha properly. Always use hot water for instant poha.
-
Fluffiness hack: After adding the poha to the pan, do not overmix. Fold it gently. Over-mixing breaks the flakes and makes it mushy.
-
Peanut tip: Use roasted peanuts for extra crunch. If using raw peanuts, roast them in the pan before adding the tempering.
-
Sweet balance: Poha needs a little sweetness. Even if you like it savoury, add a pinch of sugar. It brings out all the flavours.
-
Make ahead: You can rinse and drain the poha up to 2 hours in advance. Keep covered. Cook when needed.
-
Leftover poha: Store in the fridge for up to 2 days. Reheat in a pan with a splash of water. Do not microwave – it becomes dry.
Variations & Substitutes
Healthy version: Use less oil (1 tablespoon). Add extra vegetables like carrots, capsicum, and peas. Skip the sev. Use brown poha (available in some stores).
Jain version: No onion, no garlic – skip onion. Use hing. Use rock salt. No potatoes or root vegetables – other vegetables like carrot, capsicum, and peas are fine.
Without onion-garlic: Skip onion. Add a little extra ginger and a pinch of hing. Works well.
Vegan version: Already vegan. Use coconut oil for a different flavour.
Spicy version: Add 1 teaspoon red chilli powder along with the turmeric. Also add a chopped green chilli extra. Top with green chutney.
Indori style (sweet poha): Skip salt, turmeric, and chillies. Add extra sugar and a pinch of cardamom. Top with grated coconut and banana slices. Delicious for breakfast.
Serving Suggestions
Serve this instant poha breakfast with:
-
A hot cup of chai or filter coffee
-
Sliced bananas or pomegranate seeds on the side
-
Coconut chutney or green chutney for dipping
-
A glass of fresh juice or lassi
Best time to enjoy? Mornings before work, school tiffin boxes (kids love it), or a light dinner when you want something quick and comforting. Also perfect for rainy days – the warmth of the poha and the crunch of the peanuts are pure comfort.
For another quick breakfast idea, check out my Foxtail Millet Khichdi recipe on Luckky Corner – it is healthy and ready in 20 minutes. And if you want a South Indian classic, try my Crispy Masala Dosa Batter Recipe – it takes longer but is worth the wait.
FAQs
What is instant poha?
Instant poha is a quick version of the traditional poha breakfast made without soaking the poha overnight. The poha is rinsed with hot water, which softens it immediately. It is ready in 10 minutes.
Can I make instant poha without rinsing?
No. Poha needs moisture to soften. Without rinsing, it remains dry and hard. You must rinse it with hot water. You can also sprinkle water and microwave for 30 seconds.
Is instant poha as good as traditional poha?
Almost. Traditional poha has a softer texture because the flakes have time to absorb water slowly. Instant poha is slightly firmer but still fluffy and delicious. It is perfect for busy mornings.
Can I add vegetables to instant poha?
Yes. Add finely chopped carrots, peas, capsicum, or beans. Sauté them with the onion before adding the poha. They add nutrition and colour.
What is the best type of poha for instant poha?
Thick poha (barbara) is best. It holds its shape better than thin poha. If you only have thin poha, reduce the rinsing time and add less water.
Why is my poha sticky?
You added too much water while rinsing, or you overcooked it. Use exactly 1 cup of hot water for 1 cup of poha. Do not cook for more than 2 minutes after adding the poha.
Conclusion
This instant poha breakfast recipe is my morning hero. It is quick, healthy, and so forgiving – even if you make a mistake, it still tastes good. The tanginess of the lemon, the crunch of the peanuts, the freshness of the coriander and coconut – it all comes together in a bowl of pure comfort.
Make it tomorrow morning. Skip the soak. Just rinse, toss, and eat. Then come back here and tell me – did you add the peanuts? Did you remember the lemon? Did you burn the mustard seeds like I once did? I want to hear all your poha stories. And remember – a good breakfast is the best way to start the day.