
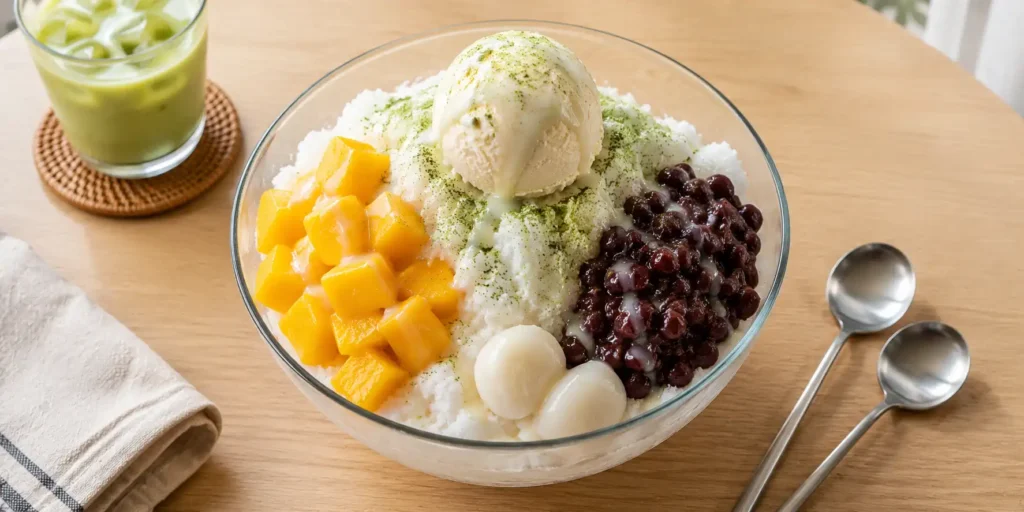
Bingsu korean shaved ice – the first time I saw it, I thought someone had put a cloud in a bowl. Seriously. It was so white, so fluffy, so impossibly light that it looked fake. Then I tasted it. And my brain exploded. The ice just melted on my tongue – not crunchy like gola, not watery like ice cream – but soft, milky, almost creamy. Like eating frozen snow from heaven. And the toppings? Sweet red beans, chewy rice cakes, fresh mango, a dusting of matcha powder. Every spoonful was a different adventure.
I discovered bingsu during a heatwave in Delhi. The temperature was 45 degrees. I was melting into my sofa. My phone showed me a video of someone eating bingsu in Seoul. I wanted to cry. Then I thought – why not make it at home? How hard can shaved ice be? Very hard, it turns out. My first attempt was a block of frozen milk that I tried to scrape with a fork. My second attempt was a blender full of ice and milk powder – it became a smoothie. But my third attempt? Ah, my third attempt was perfect. Fluffy, snowy, and absolutely delicious.
Bingsu Korean Shaved Ice
For Indian homes, bingsu korean shaved ice is like gola’s sophisticated cousin who went to culinary school. It is creamier, more elegant, and you can put all sorts of desi toppings on it. Plus, you do not need a fancy machine. Just a freezer, a blender, and a little patience.
A small tangent: My neighbour saw me carrying a bowl of bingsu and asked if it was “frozen malai”. I said yes. He ate it. He asked for the recipe. I told him the truth. He still loved it.

Step-by-Step Recipe Method
1st Step: Make the Sweet Red Beans (Optional – Do This First)
If using canned sweet red beans, skip to Step 2. If making at home, soak ½ cup adzuki beans overnight. Drain. In a pot, cover beans with water and boil until soft – about 45 minutes. Drain. Add ¼ cup sugar and a pinch of salt. Cook on low flame for 10 minutes until syrupy. Let cool. Store in fridge.
A mistake I made: I forgot to soak the beans. They took 2 hours to cook. Soak overnight. Your future self will thank you.
2nd Step: Prepare the Milk Mixture for Freezing
In a bowl, whisk together full-fat milk, condensed milk, sugar (if using), and vanilla extract. Stir until the condensed milk dissolves completely. Taste. It should be very sweet – because freezing dulls sweetness. Pour the mixture into a shallow, wide container (like a baking dish or a steel thali). The wider the surface, the faster it freezes and the easier it is to shave.
3rd Step: Freeze the Milk Block
Place the container in the freezer. Freeze for at least 6 hours, or overnight. The mixture should become a solid block of milky ice. Do not stir during freezing – we want a solid block.
4th Step: Prepare Your Toppings
While the ice block is freezing, prepare your toppings. Cube the mango. If using rice cakes (tteok), boil them in water for 2 minutes until soft, then drain. Chop nuts. Set everything in small bowls so you can assemble quickly when the ice is ready.
5th Step: Shave the Ice (The Tricky Part – Two Methods)
Method A (Blender method – easiest): Break the frozen milk block into large chunks. Place the chunks in a high-speed blender. Pulse 4 to 5 times – do not blend continuously. You want fluffy snow, not a smoothie. Scrape down the sides. Pulse again. The texture should be light, dry, and flaky.
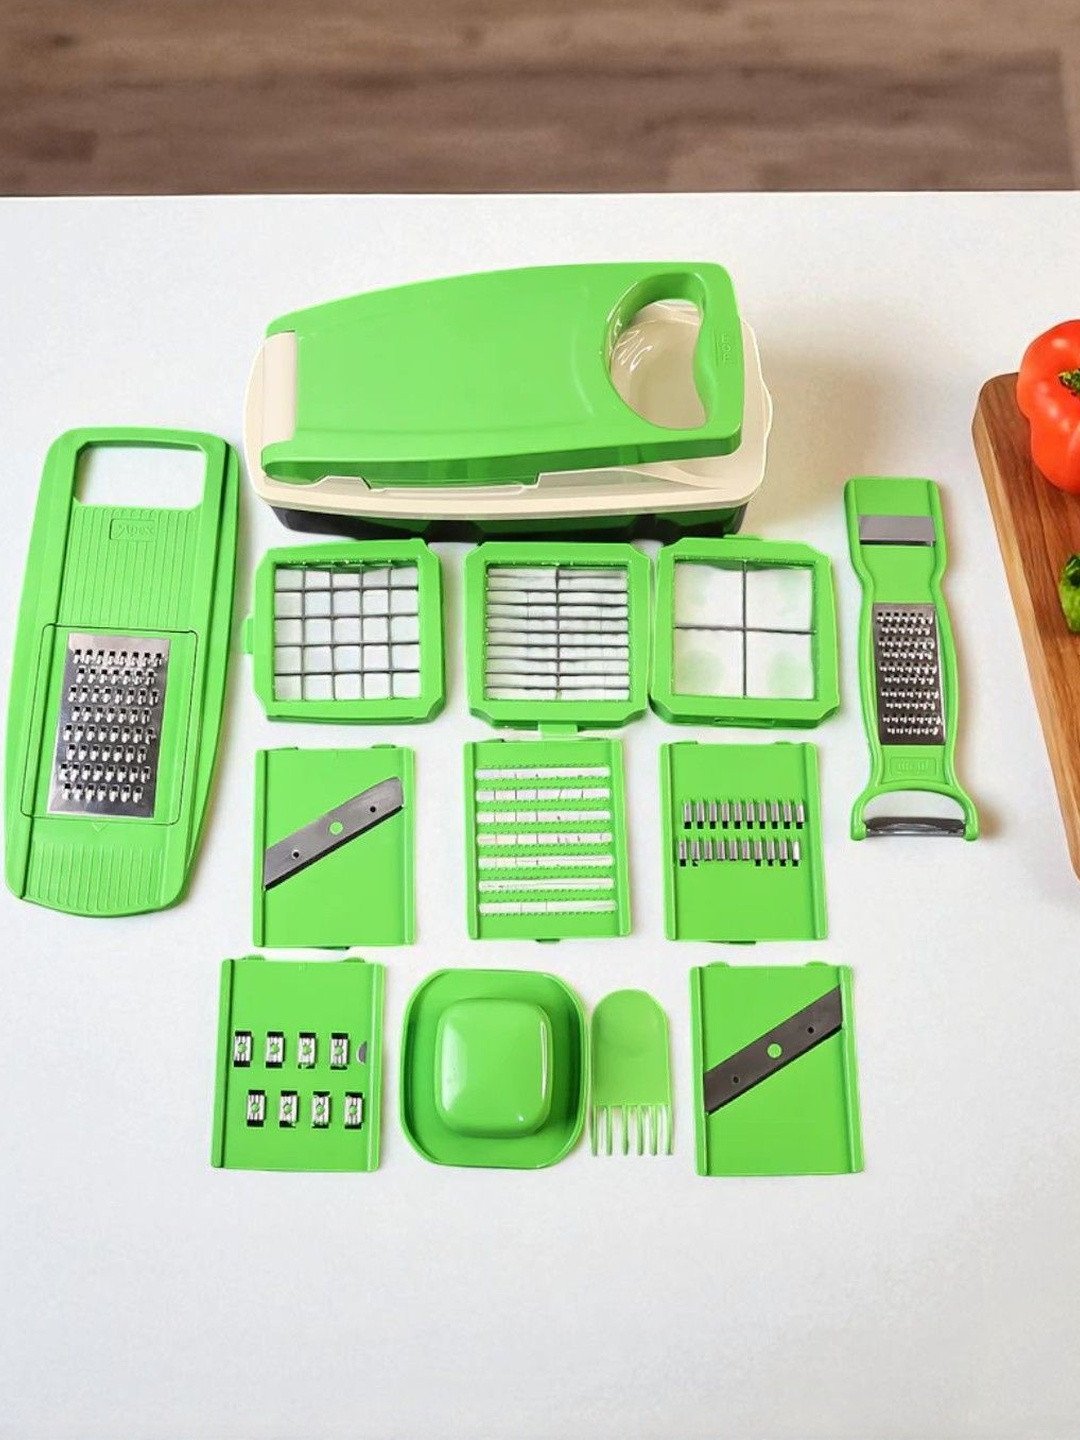
Method B (Grater method – no blender): Let the frozen block sit at room temperature for 5 minutes. Then scrape it with a box grater using the coarse side. You will get fluffy snow-like flakes. This takes effort but works perfectly.
A mistake I made: I blended too long and got milkshake. Pulse. Be gentle. The ice should look like fresh snow.
6th Step: Assemble the Bingsu
Take a large bowl or a deep plate. Pile the shaved ice into a mountain shape. Use your hands or a spoon to shape it. Do not press too hard – you want it airy.
Now add the toppings in beautiful chaos: Drizzle condensed milk or honey over the ice. Sprinkle sweet red beans on one side. Add mango cubes on another. Place the rice cakes (if using). Add a scoop of vanilla ice cream on top. Dust with soybean powder or chopped nuts.
7th Step: Serve Immediately
Bingsu melts fast. Like, really fast. Carry it to the table with urgency. Hand everyone a spoon. Dig in from the top. Mix everything together as you eat. The ice will melt into a sweet, milky soup at the bottom – that is the best part. Drink it.
8th Step: The Final Bite
When only the sweet, flavoured milk remains at the bottom of the bowl, tilt the bowl and drink it. That is the Korean way. Do not waste a drop.
Pro Cooking Tips
-
Mistake to avoid: Using low-fat milk. The fat is what makes bingsu creamy and fluffy. Use full-fat milk. Add a splash of cream if you want extra richness.
-
No ice crystals hack: Adding condensed milk prevents large ice crystals. The sugar lowers the freezing point, so the ice stays soft and scoopable.
-
Shaving without a machine: The blender method works, but do not over-blend. If your blender struggles, let the ice chunks sit for 5 minutes to soften slightly.
-
Flavour variations: Add matcha powder to the milk mixture for green tea bingsu. Add cocoa powder for chocolate bingsu. Add strawberry syrup for pink bingsu.
-
Make ahead: You can freeze the milk block up to 1 month in advance. Shave and serve when needed.
-
Leftover ice block: If you have leftover frozen milk, let it thaw slightly, then re-freeze? No. Just eat it as is. Or blend into a milkshake.
Variations & Substitutes
Healthy version: Use low-fat milk + stevia instead of condensed milk. Skip the ice cream. Use fresh berries and no sweetened beans. Still tasty but less indulgent.
Jain version: No onion, garlic – fine. Use plant-based milk (soy or almond). Skip eggs (none here). Ensure no root vegetables in toppings. Mango, berries, nuts are fine.
Without onion-garlic: Already without.
Vegan version: Use coconut milk + coconut condensed milk (store-bought or homemade). Use maple syrup instead of honey. Skip ice cream or use vegan ice cream.
Desi version (Indian bingsu): Use malai (clotted cream) in the milk mixture. Top with chopped mango, pomegranate, sweetened boondi, and a drizzle of rose syrup. Call it “Bingsu Raja”.
Coffee bingsu: Add 1 tablespoon instant coffee to the milk mixture before freezing. Top with chocolate syrup and crushed Oreos.
Serving Suggestions
Serve bingsu korean shaved ice as a dessert after a spicy Korean meal – it cools down your mouth perfectly. Also great as a summer afternoon treat, a date night dessert, or a birthday party showstopper. Pair with a cup of iced barley tea or Aam Ka Pana.
Best time to enjoy? When it is so hot outside that you cannot think straight. Also perfect when you have guests and want to impress them with something that looks complicated but is actually very simple.
If you love cold Korean desserts, check out my Mango Kulfi Recipe on Luckky Corner – it is creamy, rich, and totally different. And for a refreshing summer drink, try my Iced Barley Tea – nutty, caffeine-free, and perfect with bingsu.
FAQs
What is bingsu?
Bingsu is a Korean shaved ice dessert made from finely shaved frozen milk, topped with sweetened red beans, fruit, rice cakes, and often a scoop of ice cream. It is fluffy, milky, and melts in your mouth.
Can I make bingsu without a machine?
Yes. Freeze the milk mixture in a shallow container. Then either grate it with a box grater or pulse in a blender (carefully – do not over-blend). Both methods work.
Why is my bingsu icy instead of fluffy?
You either used low-fat milk, did not add condensed milk, or blended the ice for too long. Full-fat milk + condensed milk = creamy and fluffy. Pulse, do not blend continuously.
What is the best milk for bingsu?
Full-fat cow’s milk is best. For vegans, full-fat coconut milk works well. Avoid skim or low-fat milk – they create ice crystals.
Can I store leftover bingsu?
No. Bingsu must be eaten immediately. The shaved ice melts and refreezes into a solid block. Make only as much as you will eat in one sitting.
What are traditional bingsu toppings?
Sweet red beans (pat), rice cakes (tteok), roasted soybean powder (konggaru), condensed milk, and fruit. Modern versions have cookies, chocolate, matcha, and cheesecake.
Conclusion
This bingsu korean shaved ice recipe turned my kitchen into a Korean dessert cafe. It is fluffy, milky, and so much better than regular shaved ice. The best part? You do not need a fancy machine. Just milk, condensed milk, a freezer, and a little patience. My family now demands bingsu every weekend. I am not complaining.
Make it on the next hot day. Pile it high with your favourite toppings. Eat it fast before it melts. Then come back here and tell me – did you use mango or strawberry? Did you try the desi version? Did your blender explode like mine almost did? I need to know. Stay cool. Eat bingsu.